Building a DIY-raised garden bed is a great way to create a dedicated, manageable space for growing vegetables, herbs, or flowers. It improves soil drainage, gives you control over the soil quality, and reduces back strain from bending down. Here’s a simple guide to help you get started:
Materials You’ll Need:
- Untreated wood (cedar, redwood, or pine) or another material like stone or brick
- Screws or nails
- Power drill
- Measuring tape
- Level
- Soil (a mix of garden soil and compost)
- Plants or seeds
- Landscape fabric (optional)
- Gravel or sand for the base (optional)
Step-by-Step Instructions:
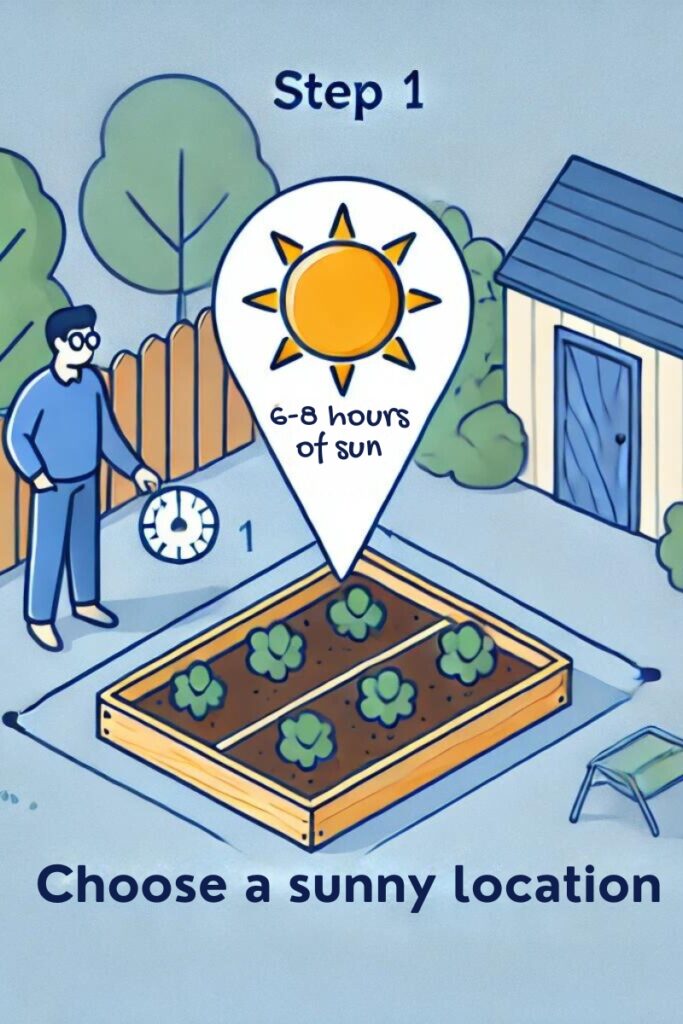
1. Choose the Location

- Pick a sunny spot in your yard that gets at least 6-8 hours of sunlight daily. Make sure it’s a level area to prevent water from pooling at one end.
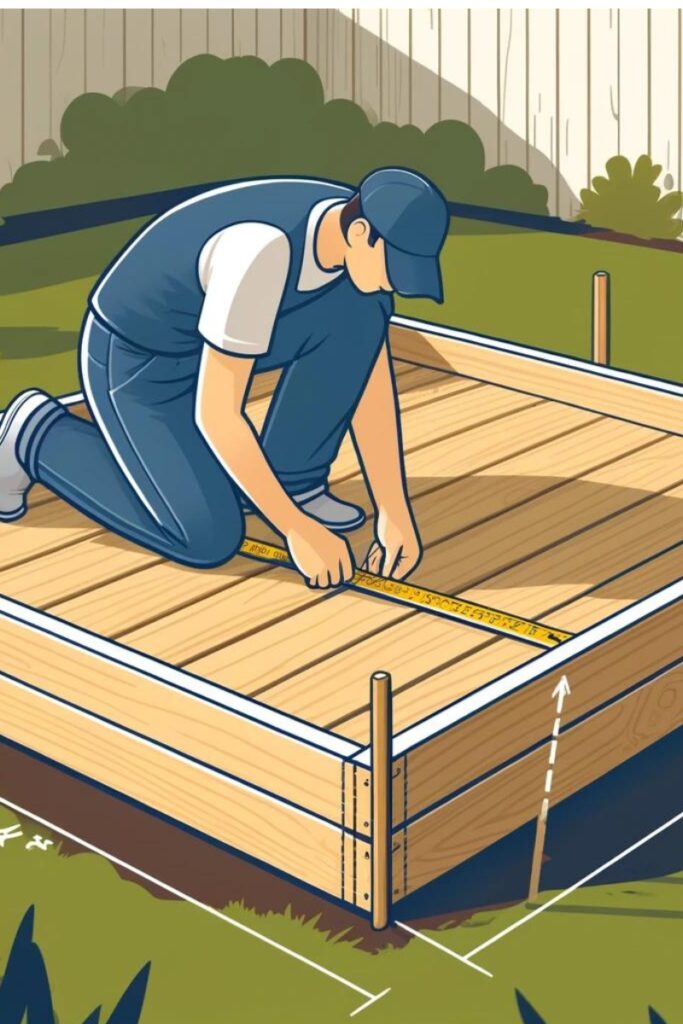
2. Determine the Size of Your Bed
- Standard raised beds are about 4 feet wide (so you can reach the middle from either side) and can be as long as you like. Aim for a height of 10-12 inches, though deeper beds (up to 24 inches) are better for plants with deep roots.
3. Gather Materials and Cut Wood
- Cut your wood to the desired lengths for your bed. For example, for a 4×8 raised bed, you’ll need two 4-foot boards and two 8-foot boards.
- If you’re stacking layers to make the bed higher, cut additional pieces for the height.
4. Assemble the Frame

- Place the boards in position and drill them together at the corners, using screws or nails. Use a level to ensure everything is even.
- Reinforce the corners with L-brackets if needed for extra stability.
5. Prepare the Ground
- Remove any grass or weeds where the bed will sit.
- Lay down landscape fabric or cardboard at the bottom of the bed to prevent weeds from growing through the soil.
- Optionally, add a layer of gravel or sand at the bottom for better drainage.
6. Fill with Soil
- Fill the bed with a mix of garden soil and compost. A good mix is one part garden soil, one part compost, and one part organic matter like peat moss or coconut coir.
- Ensure the soil level is just below the top edge of the bed, allowing room for watering.
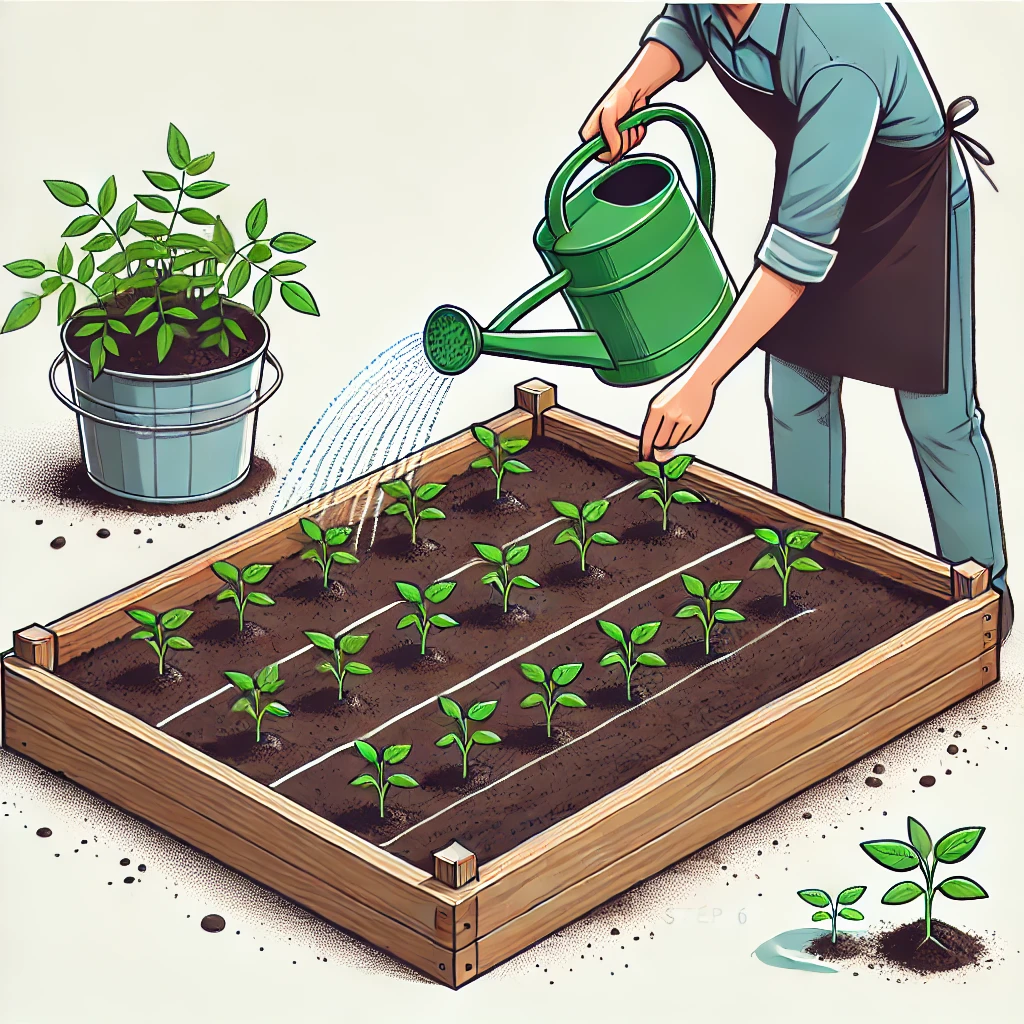
7. Plant Your Garden

- Now you’re ready to plant! Space your plants according to the seed packet or plant label instructions. For easier maintenance, group plants with similar water and light needs together.
- After planting, water thoroughly.
8. Maintain Your Bed
- Water your garden regularly, especially in the first few weeks as plants establish roots. Mulch around plants to retain moisture and reduce weeds.
- Keep an eye on the soil level and top it off with compost or soil as needed.
Pro Tips:
- Choose rot-resistant wood like cedar or redwood for longer-lasting beds.
- Use raised bed kits if you prefer an easier, pre-made option.
- Consider irrigation: Drip irrigation systems work well with raised beds and save time on watering.
Building a raised garden bed is a rewarding project that provides a beautiful and functional space to grow fresh produce. With these steps, you’ll have a productive garden that’s easy to maintain.


